1 Cheap VPS with free dedicated IP, free PLESK panel and free SSL
On this page ↕On this page

In this article we will guide you to quick install a new VPS on VULTR.
2 Why VULTR?#
- Cheap
- Fast
- Secure
- User friendly
- Many server locations
3 Why Plesk?#
- Fast (most important)
- User friendly (no high tech knowledge needed, no SSH, just click next:) )
- Free
- 1 click setup
- Up to 3 websites
- Free SSL (provided by Let's Encrypt)
- Easy management
4 Steps on VULTR#
Follow the steps below for a quick and smooth setup.
4.1 Sign up or Login in#
Go to https://my.vultr.com/ and follow the steps.
4.2 Click the + button on your account dashboard.#
4.3 Choose server type#
Click on the desired type.
4.4 CPU & Storage Technology#
Click on the desired type.
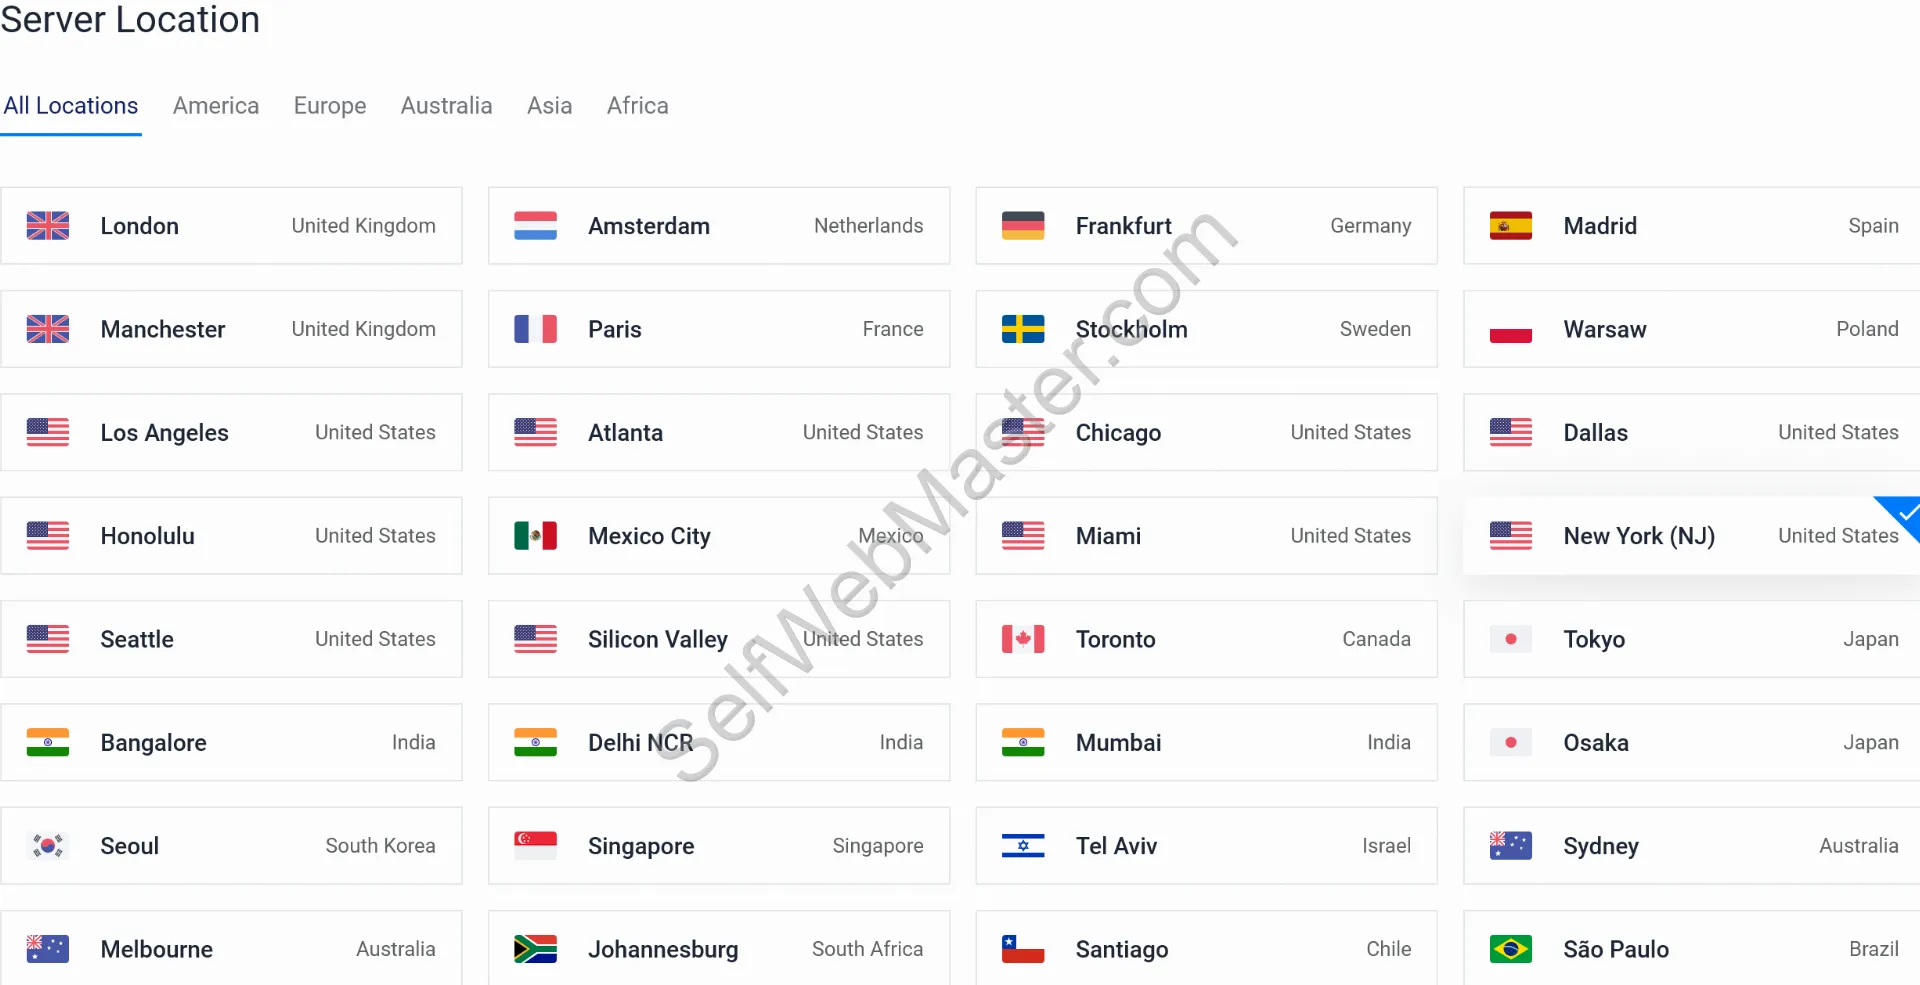
4.5 Server Location#
Click on the desired location. Select a server location close to your audience!4.6 Server Image#
Click on Plesk > Select Version > "Web Admin SE".
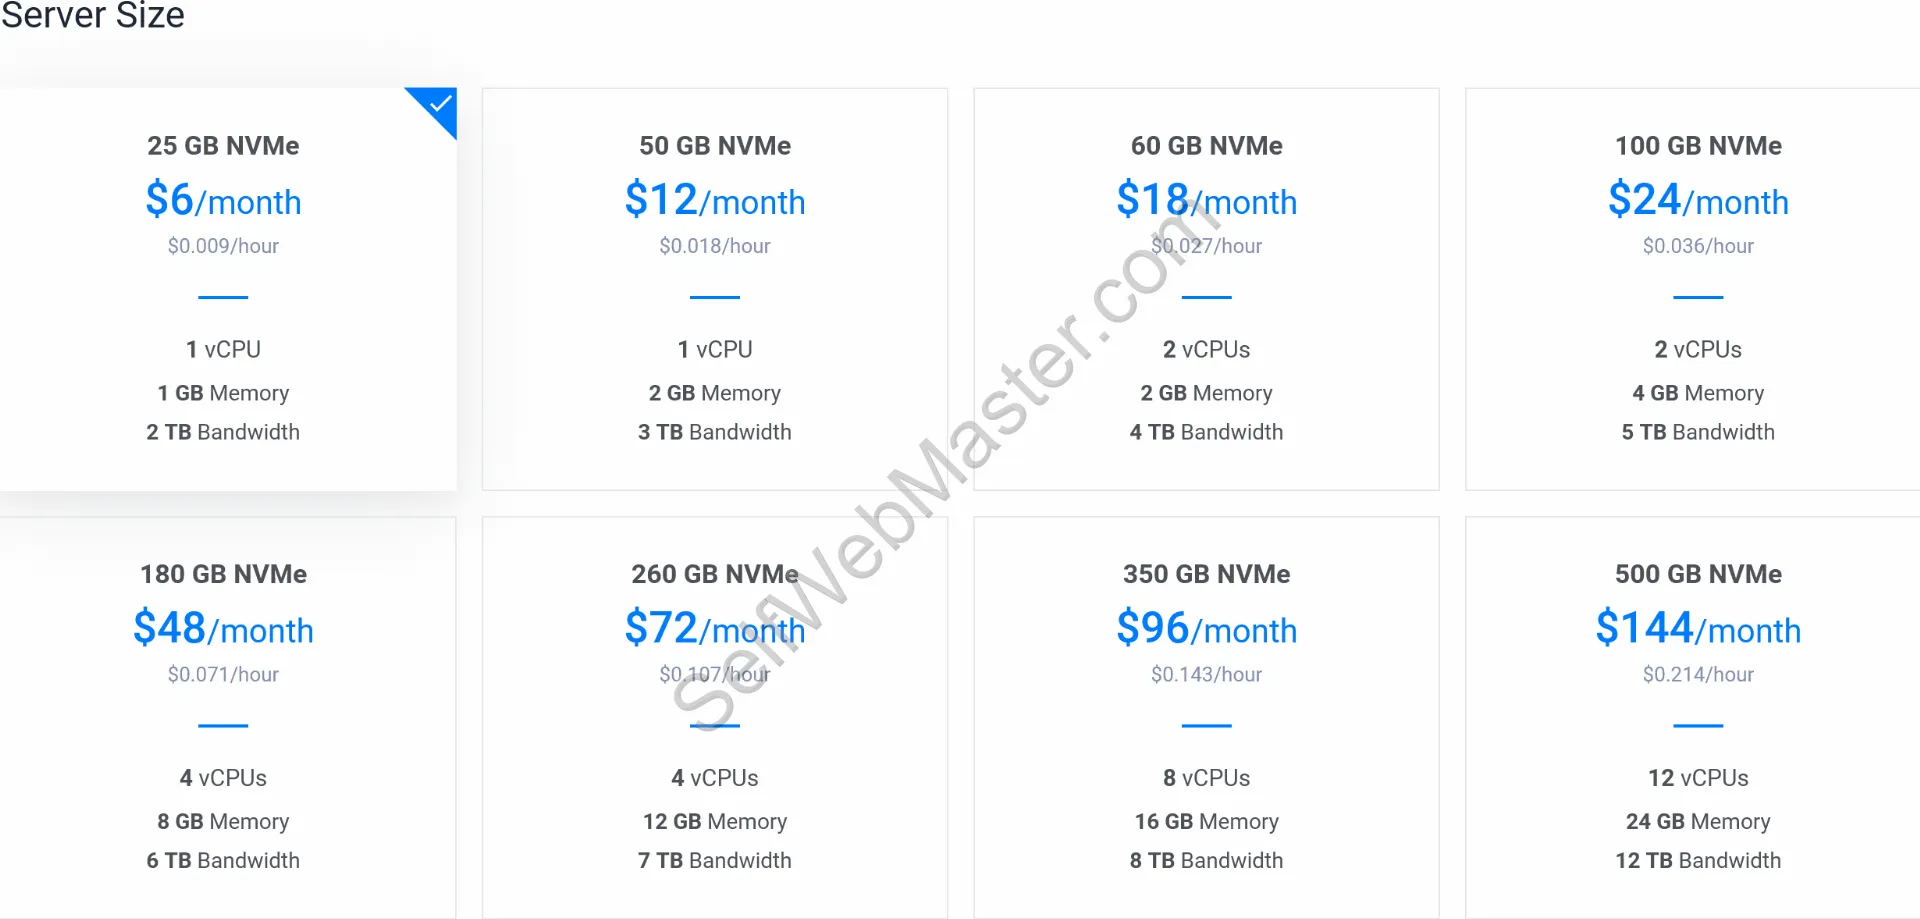
4.7 Server Size#
Click the desired size. The "25 GB NVMe" will do just fine for the majority of websites (wordpress, opencart or other simple custom CMS).
4.8 Add Auto Backups#
Depending on your project you can opt in for auto backups. The "Auto Backup" options comes with a cost of $1.2/month.
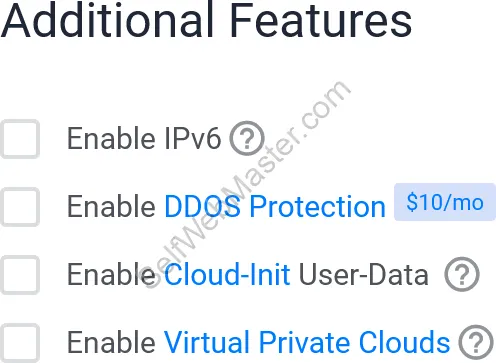
4.9 Additional Features#
4.10 SSH Keys#
4.11 Server Hostname & Label#
Add your domain to server hostname.
4.12 Final step on VULTR#
Click "Deploy Now".


